
Step 1: Prepare your face
This step is so important and I don’t think many people do this! I didn’t realize how much of a difference it makes until I started doing it. I have combination skin so the pets of my face that get really dry would always make my skin flake and when I’d put foundation on top of that, it be a nightmare. So make sure that you’re exfoliating with something (these pads are really gentle in your skin) and letting your face dry before applying eye cream and moisturizer. This moisturizer I love because it’s not thick and not an oil. It’s so light on my skin that if you breakout easily I would strongly suggest this.
Step 2: Put on your expressions
Use and angled brush and some eye shadow that matches your hair color to apply your brow. That way you can easily erase and you Can make it as light or dark as you want!
Step 3: Put on your eye primer and shadow
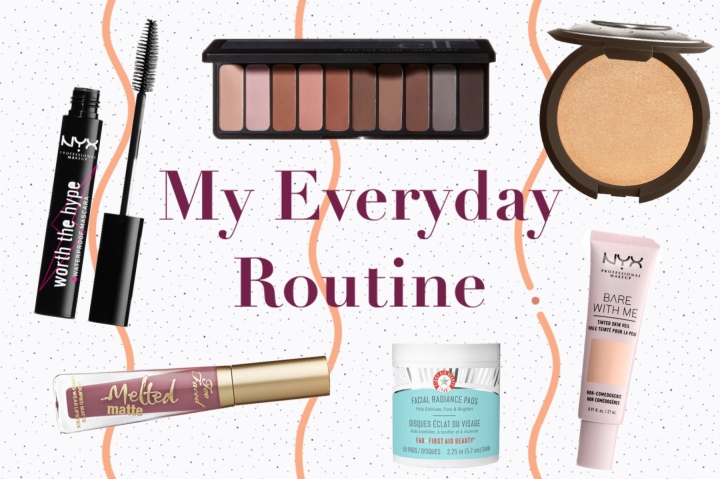
Always use primer before your shadow so that your shadow lasts all day. You can use inexpensive brands for your shadow or primer – it’s all in how you apply it! Don’t break the bank on an urban decay palette if you can get it in E.L.F. I use the above Mad for Matte Palette.
Start with the crease and work your way out! Then after you’ve applied your lid color, use the small angled brush in your kit to make the little wing. Smidge it out with your C brush and put on your mascara!
Step 4: Put on a tinted moisturizer or skin veil and conceal
I use the NYX skin veil, but you can use a tinted moisturizer or CC cream if you like them better! Just make sure you get it all over so your skin tone is even.
Use your concealer (I use the shade light) and hide any blemishes or bags under your eyes. Put it on your chin and under your eyes if even to just contour slightly. Blend it in with that beauty blender.
Step 5: Highlight!
Use your finger highlighter to dab your liquid highlighter on your cheekbones, your nose, and the bridge of your lip. I use NYX Liquid Illuminator in Sunbeam. Then you can set this highlight with a highlight powder. The powder I use is Becca in Champagne Pop.
Step 6: Bronze, Blush, and Set
Use your bronzer right under your cheekbone and ever so lightly around your hairline. I’m so fair I use whatever the lightest shade is, which in this case is “Light”. Then apply a little blush just above where your bronzer ends. Go back with your highlighter brush without adding more powder to it and just make sure you blend in the blush to the highlighter so it’s not so blunt. Then when you’re done go in with your finishing powder where ever you applied concealer just to make sure it doesn’t move!
Spray and add your lip!
Take a setting spray and just spray all over your face. You don’t need a crazy expensive spray if you’ve used primers and set your make up with powders – this is just an added step to make sure everything stays put.
If you feel like you won’t be wearing a mask or you just want to make sure your look is complete, add a lip! My fave is Too Faced Melted Matte In Queen B.
